How to Change Your Skin in Minecraft (Java and Bedrock)
 PixelSkin
Change your Minecraft skin in Java Edition (Launcher or minecraft.net) and Bedrock (Dressing Room on Windows, Android and iOS), plus fixes when the skin does not show.
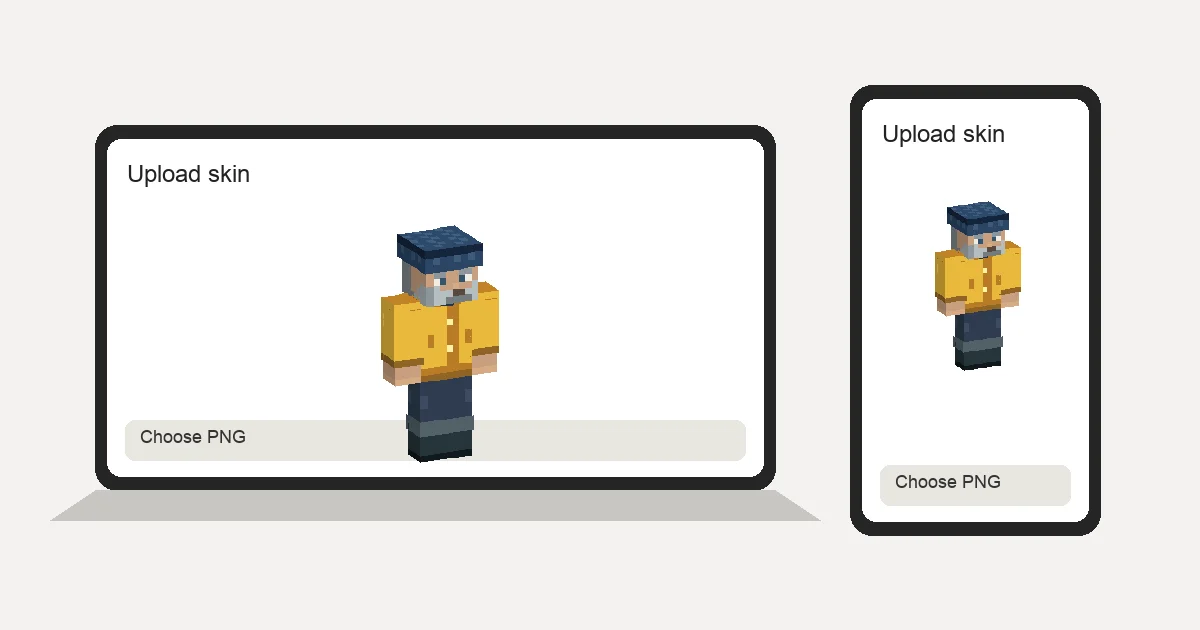
You have a skin PNG and want to wear it. Where you upload it depends on which edition you play: Java Edition uses the Minecraft Launcher or your profile on minecraft.net, while Bedrock Edition uses the Dressing Room inside the game.
Quick answer: Java: Minecraft Launcher → Skins → New Skin → choose Classic (Wide) or Slim → Browse → Save & Use. Bedrock: Dressing Room → Classic Skins → Owned → Import → Choose New Skin. Consoles cannot import skin files.
The steps below were checked against the official Minecraft Help articles on November 3, 2026.
Which edition do I have?
- Java Edition runs on Windows, macOS and Linux and is started from the Minecraft Launcher by choosing "Minecraft: Java Edition".
- Bedrock Edition is the version on phones, tablets, consoles, and the Windows version that plays with those devices.
On a Windows PC you might have both. If you start the game from the Launcher's Java tab, follow the Java steps.
Before you start: check the file
- It must be a PNG, usually 64×64 pixels (64×32 legacy skins also work; Bedrock accepts 128×128 too).
- Know whether it was made for Classic (4-pixel arms) or Slim (3-pixel arms) arms. Skins from our generator use Classic.
- Save it somewhere you can find it: your Downloads folder on a computer, Files or Photos on a phone.
Java Edition: change your skin in the Launcher
- Open the Minecraft Launcher.
- Select Minecraft: Java Edition on the left.
- Open the Skins tab.
- Click New Skin and give it a name.
- Choose Wide (Classic) or Slim to match the skin.
- Click Browse, pick your PNG.
- Click Save & Use.
The skin is also saved in your library, so you can switch back to it later. Rejoin your world or server to see it.
Java Edition: change your skin on minecraft.net
- Sign in at minecraft.net and open your profile's Change your skin page.
- Choose the Classic or Slim model.
- Under Upload custom skin, select your file and click Upload.
Source: Make a Custom Skin in Minecraft: Java Edition, Minecraft Help.
Bedrock Edition: Windows, Android, iPhone and iPad
- Start Minecraft and select Dressing Room on the main screen.
- Pick a character slot, then Edit Character if asked.
- Open the Classic Skins tab.
- Under Owned, select Import, then Choose New Skin.
- Pick your PNG and choose the arm model that matches it.
- Confirm, then join a world.
On a phone or tablet, save the PNG to your files or photos first so the file picker can find it.
Source: Equip Minecraft Character Creator Items and Skins in the Dressing Room, Minecraft Help.
Bedrock on consoles
Xbox, PlayStation and Nintendo Switch do not offer the Import option for custom skin files. On consoles you can use Character Creator items and Marketplace skins instead.
My skin does not show up: common fixes
- The arms have a stripe of wrong pixels. You picked the wrong arm model. Re-upload and choose Classic (Wide) or Slim to match the skin.
- Other players see me as a default skin (Bedrock). The world may have Only Allow Trusted Skins turned on, or the server or Realm restricts custom skins.
- Nothing changed in game (Java). Rejoin the world or server, or restart the game. Some servers disable custom skins.
- The upload is rejected. Check that it is a real PNG (not a renamed JPG) and the size is 64×64 or 64×32.
- Parts look see-through or black. The base layer has transparent pixels. Fill them in. The skin template guide shows which areas belong to the base layer.
Need a skin first?
If you don't have a skin yet, here is how to make one: describe it to an AI, start from a photo, or paint it yourself.
Try it now
This link opens the skin generator with a prompt already filled in: a mountain guide in a red insulated jacket, climbing harness, grey pants and a knit beanie. Export the PNG and follow the steps above.